In this section, we are going to understand the working of the PostgreSQL Foreign Key, the examples of PostgreSQL Foreign key, how to add the PostgreSQL Foreign key into the tables using foreign key constraints.
What is PostgreSQL Foreign key / Foreign Key Constraint?
A foreign key is a group of columns with values dependent on the primary key benefits from another table. It is used to have the value in one column or group of columns displayed in the same column or combination of columns in another table.
The foreign key is also known as the referencing key, and it matches the primary key field from another table, which implies that the foreign key field in one table refers to the other table’s primary key field.
In PostgreSQL, the foreign key’s values is parallel to the actual values of the primary key in the other table; that’s why it is also known as Referential integrity Constraint.
PostgreSQL foreign key constraint specifies the values in a group of columns or a column in the Child table, equivalent to the values in a group of columns or a column of the Parent table.
In other words, we can say that a foreign key makes it possible to generate a parent-child relationship with the tables.
In the parent-child relationship, the parent table keep the initial column values, and the child table’s column values reference the parent column values.
Note: A PostgreSQL table can have various foreign keys depending on its connection with other tables. And PostgreSQL allows us to describe a foreign key using the foreign key constraint.
How to create a Foreign key in PostgreSQL
In PostgreSQL, we can create a foreign key with the help of the following commands:
- CREATE TABLE command
- ALTER TABLE command
Note: In PostgreSQL, the ALTER TABLE command is used to add or drop a primary key.
Now, we are discussing each one in detail.
Creating a Foreign Key using a CREATE TABLE command
We can create a foreign key in PostgreSQL with the CREATE TABLE command’s help.
The Syntax for creating a Foreign key
The below illustrations are used to define a foreign key using the CREATE TABLE command in PostgreSQL:
[CONSTRAINT constraint_name]

FOREIGN KEY [foreign_key_name] (column_name, ...)

REFERENCES parent_table_name (column_name,...)

[ON DELETE referenceOption]

[ON UPDATE referenceOption]
In the above syntax, we have used the following parameters, which we discussed in the below table:
Explanation of Parameters
| Parameter name | Description |
|---|---|
| Constraint_name | The constraint name parameter is used to define the foreign key constraintPostgreSQL will create the constraint name automatically if we do not specify the constraint name. |
| Column_name | It is used to specify the column name where we are going to create a foreign key.And it should be written in parentheses after the FOREIGN KEY keyword. |
| Parent_table | The parent table parameter defines a parent table’s name, followed by column names, which references the foreign key columns. |
| Refrence_option | It is used to define the delete and update actions in the ON DELETE and ON UPDATEIt also validates that the foreign key keeps the referential integrity using both (ON DELETE and ON UPDATE) clauses between the Parent and Child tables. |
In PostgreSQL, we have five different referential options, which are as follows:
- SET DEFAULT
- SET NULL
- CASCADE
- NO ACTION
- RESTRICT
Let us see the brief introduction of five different referential options one by one in the below table:
| Referential Options | Explanation |
|---|---|
| SET DEFAULT | The PostgreSQL parser identifies the SET DEFAULTStill, the InnoDB and NDB tables both excluded the SET DEFAULT action. |
| SET NULL | The SET NULL referential option is used when we are removing or modifying any row from the parentThe foreign key column values in the child table are set to NULL. |
| CASCADE | If we want to remove or modify any row from the parent table, then we will use the CASCADEThe values of the corresponding rows in the child table will be removed or updated repeatedly. |
| RESTRICT | The RESTRICT action is used when we are removing or modifying any row from the Parent table, which has a similar row in the reference(child) table. |
| NO ACTION | The NO ACTION referential action is similar to RESTRICTBut it has one difference that verifies the referential integrity after we are trying to update the particular table. |
Example of PostgreSQL Foreign Key using Create command
To understand the working of the PostgreSQL Foreign key, we will see the below example, which describes how foreign a key is used in PostgreSQL.
In the below command, we will create two tables as Employee and Department with the CREATE command’s help and inserting some values using the INSERT command.
To create the Employee into a Javatpoint database, we will use the CREATE command.
Before creating the Employee table, we will use the DROP TABLE command if a similar table exists in the Javatpoint database.
DROP TABLE IF EXISTS Employee; Output
After executing the above command, we will get the following window message, which displays that the Employee table has been dropped successfully.
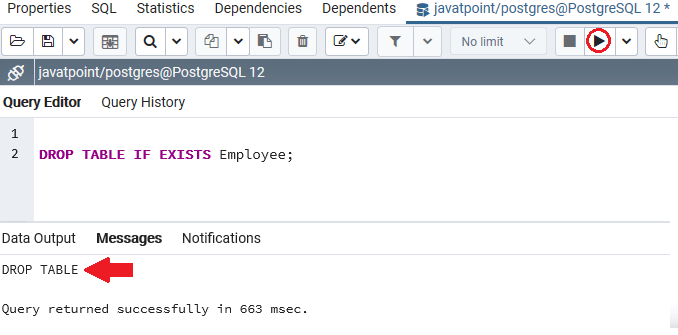
Once the previously created Employee table has been dropped, we will create a new Employee table, which contains the various columns such as Employee_id, Employee_name column.
In this, the Employee_id column is the Generated Always as identity constraint.
CREATE TABLE Employee(

   Employee_id INT GENERATED ALWAYS AS IDENTITY,

   Employee_name VARCHAR(50) NOT NULL,

   PRIMARY KEY(Employee_id)

);
Output
On executing the above command, we will get the following message: The Employee table has been created successfully into the Javatpoint database.
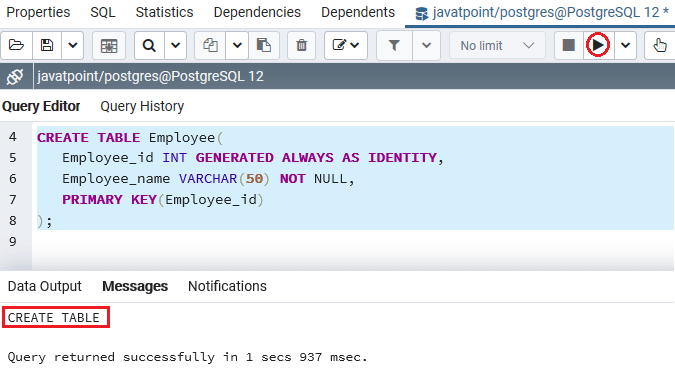
After creating the Employee table, we will create our second table, which is named as Department table, into a Javatpoint database with the CREATE command’s help.
Before creating the Department table, we will use the DROP TABLE command to ensure no similar table exist in the Javatpoint database.
DROP TABLE IF EXISTS Department; Output
After executing the above command, we will get the following window message: The Department has been dropped successfully from the Javatpoint database.
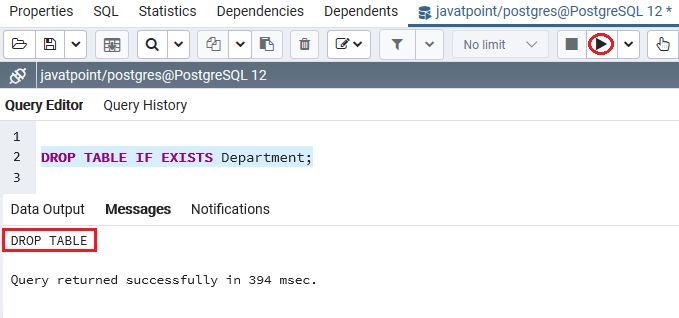
Once the Department table has been dropped, we will create a new Department table containing the various columns such as Department_id, Department_name column.
CREATE TABLE Department(

Department_id INT GENERATED ALWAYS AS IDENTITY,

Employee_id INT,

Department_name VARCHAR(200) NOT NULL,

PRIMARY KEY(Department_id),

CONSTRAINT fk_Employee

FOREIGN KEY(Employee_id)

REFERENCES Employee(Employee_id)

);
Output
On executing the above command, we will get the following message: The Department table has been created successfully into the Javatpoint database.
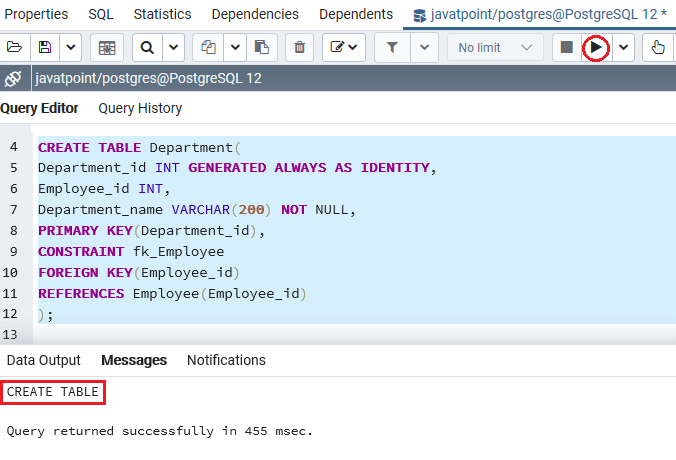
In the above examples, the Employee table is the parent table, and the Department table is the child table. Each employee has zero or various departments, and each Department belongs to zero or one employee.
The Employee_id column in the Department table is the foreign key column, which references the primary key column with a similar name in the Employee table.
In the below statement, the foreign key constraint fk_Employee in the Department table specify the Employee_id as the foreign key:
CONSTRAINT fk_Employee

FOREIGN KEY(Employee_id)

REFERENCES Employee(Employee_id)
The No Action is the default option, since the foreign key constraint does not have the ON DELETE and ON UPDATE action.
NO ACTION
We will be inserting a few records into both (Employee and Department) tables with the INSERT command’s help for the NO ACTION options.
INSERT INTO Employee(Employee_name)

VALUES('John Smith'),

('Michael Brown');
Output
After implementing the above command, we will get the following message window, which displays that the two values have been inserted successfully into the Employee table.
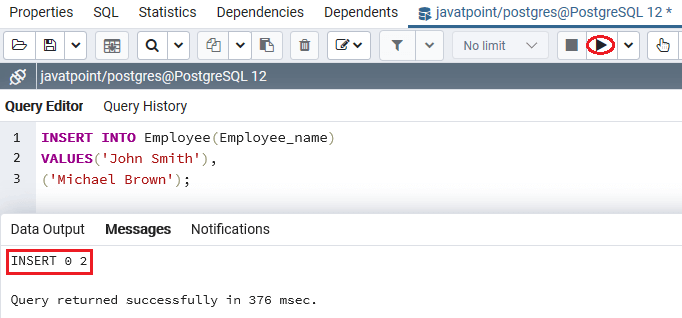
After inserting the value in the Employee table, we will enter some records into the Department table by using the Insert Command, as shown in the below command:
INSERT INTO Department(Employee_id, Department_name)

VALUES(1,'Accounting'),

(1,'Accounting'),

(2,'Human Resource'),

(2, 'Human Resource-1');
Output
After executing the above command, we will get the below message window, which displays that the four rows have been inserted into the Department table.
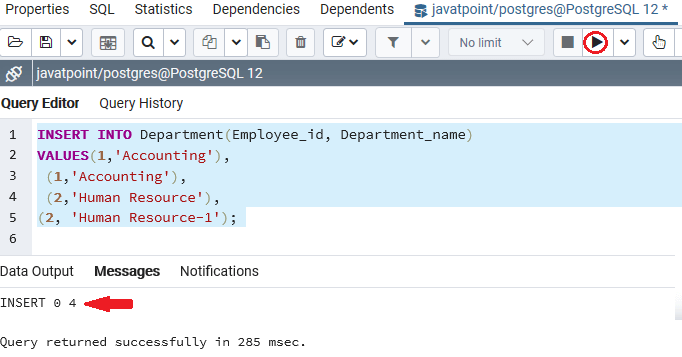
In the below command, we are deleting the Employee_id 1 from the Employee table by using the DELETE command.
DELETE FROM Employee

WHERE Employee_id = 1;
Output
After implementing the above command, the PostgreSQL issued the below error because of the ON DELETE NO ACTION:
Error: update or delete on table "employee" violates foreign key constraint "fk_employee" on table "department".

DETAIL: Key (employee_id)=(1) is still referenced from table "department".

SQL state: 23503
In other words, we can say that the PostgreSQL issues a constraint violation as the referencing rows of Employee id=1 still present in the Department table.
RESTRICT
The RESTRICT action is similar to NO ACTION. The only difference is arise when we specify the foreign key constraint as DEFERRABLE with an INITIALLY DEFERRED or INITIALLY IMMEDIATE mode.
SET NULL
After understanding the working of NO ACTION and RESTRICT option, we will understand the working of the SET NULL action with a foreign key.
In the below command, we are going to create two new tables named Staff and Sector.
But, firstly, we will use the DROP TABLE command if a similar table is already existing in the Javatpoint database.
Then, we will create those table using the foreign key, which have the SET NULL action in the ON DELETE clause:
Dropping the Tables
DROP TABLE IF EXISTS Staff; Output
After executing the above command, we will get the following window message: The Staff table does not exist.
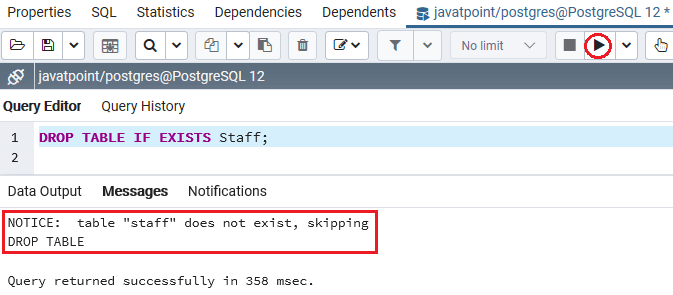
Now, we will drop the Sector table with the DROP table command’s help.
DROP TABLE IF EXISTS Sector; Output
After implementing the above command, we will get the following message window: The Sector table has does not exist.
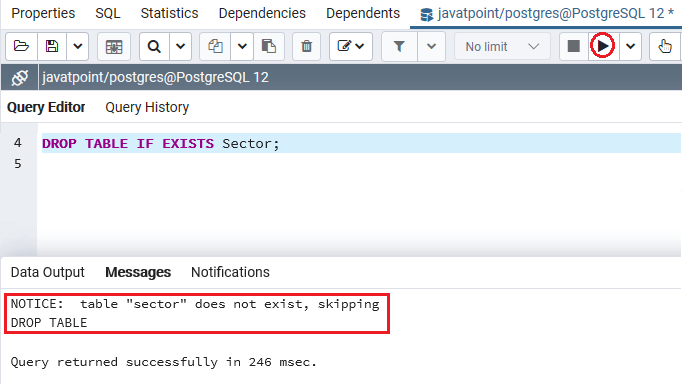
Creating the tables using the SET NULL option in the ON DELETE clause
CREATE TABLE Staff(

   Staff_id INT GENERATED ALWAYS AS IDENTITY,

   Staff_name VARCHAR(50) NOT NULL,

   PRIMARY KEY(Staff_id)

);
Output
The Staff table has been created after executing the above command, as we can see in the below screenshot:
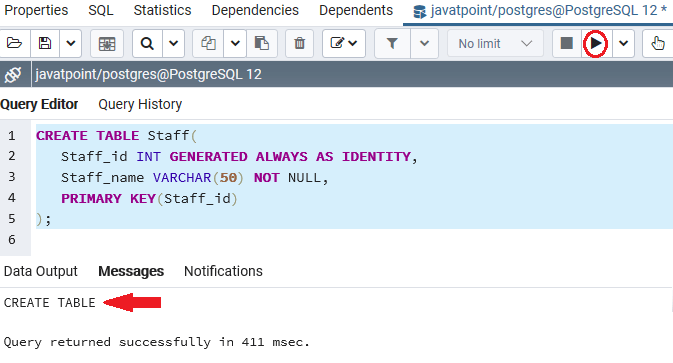
Once the Staff table has been created successfully, we will create the Sector table using the CREATE command and also uses the SET NULL action in the ON DELETE clause:
CREATE TABLE Sector(

Sector_id INT GENERATED ALWAYS AS IDENTITY,

Staff_id INT,

Sector_name VARCHAR(200) NOT NULL,

PRIMARY KEY(Sector_id),

CONSTRAINT fk_Staff

FOREIGN KEY(Staff_id)

REFERENCES Staff(Staff_id)

ON DELETE SET NULL

);
Output
After executing the above command, we will get the below message window displaying that the Sector table has been created successfully into the Javatpoint database.
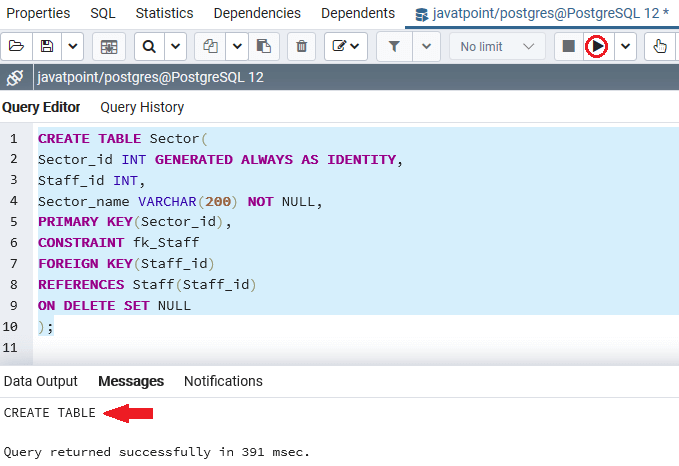
Once we are successfully creating both the Staff and Sector tables, we will insert some values into them using the INSERT command.
INSERT INTO Staff(Staff_name)

VALUES('Sophia Smith'),

('Jessica Williams'),

('Victoria Lopez');
Output
We will get the below message window after implementing the above command, which displays that the three values have been inserted successfully into the Staff table.
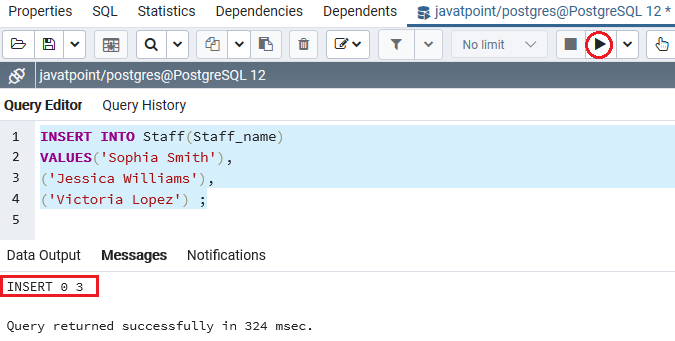
After inserting the value in the Staff table, we will enter some records into the Sector table with the INSERT command’s help, as shown below:
INSERT INTO Sector(Staff_id, Sector_name)

VALUES(1,'Nursing'),

(1,'Nursing'),

(2,'Medication'),

(2, 'Medication'),

(3,'Accounting');
Output
On implementing the above command, we will get the below message window, which displays that the five rows have been inserted into the Sector table.
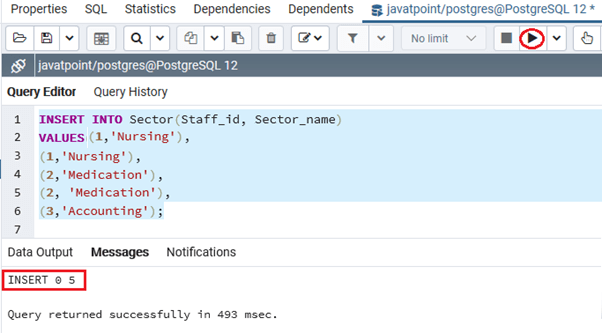
After successfully inserting the rows into both tables, we will see how the SET NULL works.
For this, we are removing the staff_id=2 from the Staff table using the DELETE command, as shown below:
DELETE FROM Staff

WHERE Staff_id = 2;
Output
After executing the above command, we will get the following message window, which displays that the particular Staff_id has been deleted successfully.
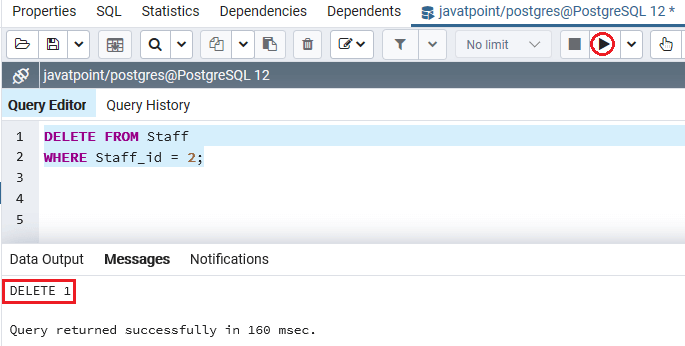
The referencing rows in the child (Sector) table set to NULL because of the ON DELETE SET NULL action.
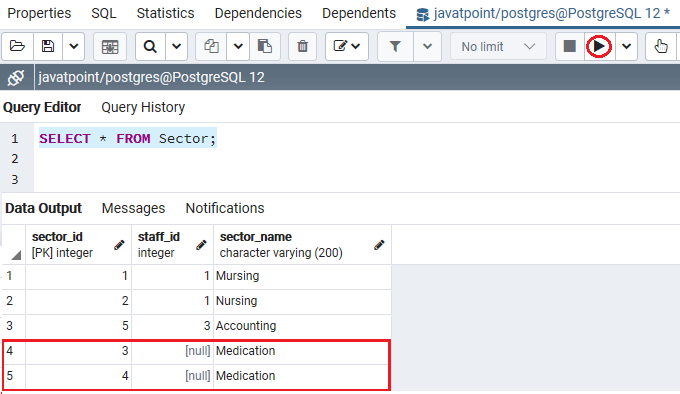
In the below command, we will use the SELECT command to see the data present in the Sector table:
SELECT * FROM Sector; Output
After implementing the above SELECT command, we will get the following output, which displays that the rows with a Staff_id=2 in the Sector table automatically set to NULL due to the ON UPDATE SET NULL action.
SET DEFAULT
The ON DELETE SET DEFAULT is used to sets the standard value to the foreign key column of the referencing rows in the child table when the referenced rows from the parent table are removed.
CASCADE
The ON DELETE CASCADE option removes all the referencing rows in the child table (Department) automatically when the referenced rows in the parent table (Employee) are removed.
Note: In PostgreSQL Foreign key, we will use the ON DELETE CASCADE option most commonly.
Let us see an example to understand how the CASCADE option work’s with Foreign keys.
In the below command, we are going to recreate the Employee and Department tables.
In the following example, we will drop the sample tables (Employee and Department) and re-create them with the foreign key, which uses the CASCADE action in the ON DELETE clause:
Dropping the Tables
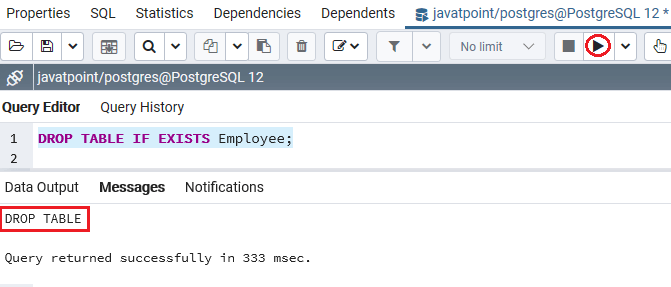
DROP TABLE IF EXISTS Employee; Output
After implementing the above command, we will get the following message window: The Employee table has been dropped successfully.
Once the Employee table has been dropped, we will drop the Department table with the DROP table command’s help.
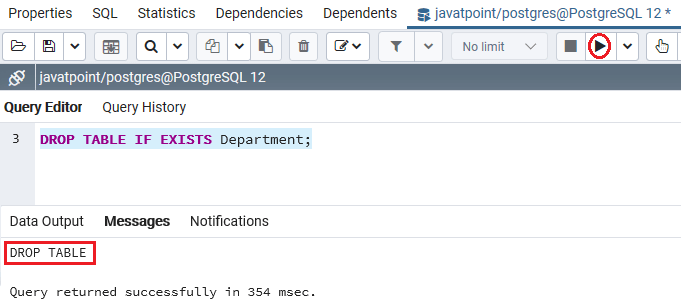
DROP TABLE IF EXISTS Department; Output
After executing the above command, we will get the following message window: The Department table has been dropped successfully.
Re-creating the tables
Once both the tables has been dropped successfully, we will re-create those table with the foreign key, which uses the CASCADE action in the ON DELETE clause. However, the delete action of the fk_emloyee changes to CASCADE:
Now, we will re-create the Employee table using the CREATE table command, as shown in the following command:
CREATE TABLE Employee(

   Employee_id INT GENERATED ALWAYS AS IDENTITY,

   Employee_name VARCHAR(50) NOT NULL,

   PRIMARY KEY(Employee_id)

);
Output
After executing the above command, we will get the following message: The Employee table has been recreated successfully into the Javatpoint database.
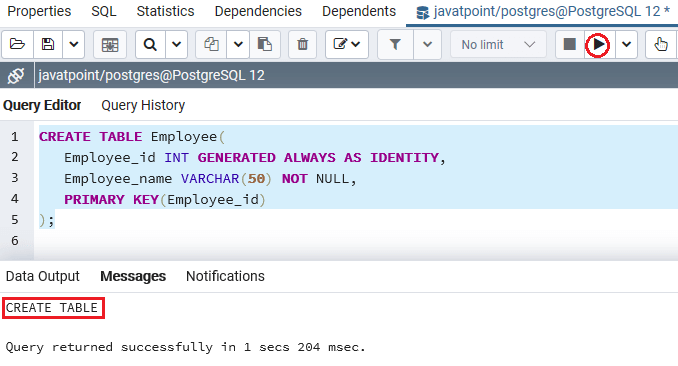
After creating the Employee table, we will create our second table, the Department table, into a Javatpoint database with the CREATE command’s help.
CREATE TABLE Department(

Department_id INT GENERATED ALWAYS AS IDENTITY,

Employee_id INT,

Department_name VARCHAR(200) NOT NULL,

PRIMARY KEY(Department_id),

CONSTRAINT fk_Employee

FOREIGN KEY(Employee_id)

REFERENCES Employee(Employee_id)

ON DELETE CASCADE

);
Output
We will get the following message on executing the above command: The Department table has been recreated successfully into the Javatpoint database.
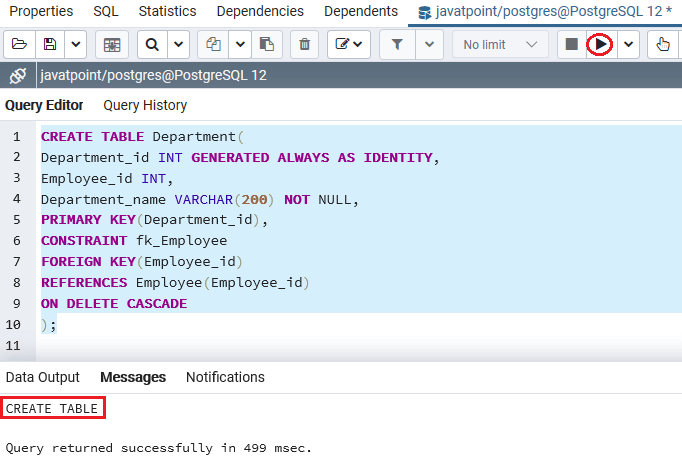
After recreating both Employee and Department tables, we will insert few records into both tables using INSERT command.
INSERT INTO Employee(Employee_name)

VALUES('John Smith'),

('Michael Brown');
Output
We will get the following message window, which displays that the two values have been inserted successfully into the Employee table after implementing the above command.
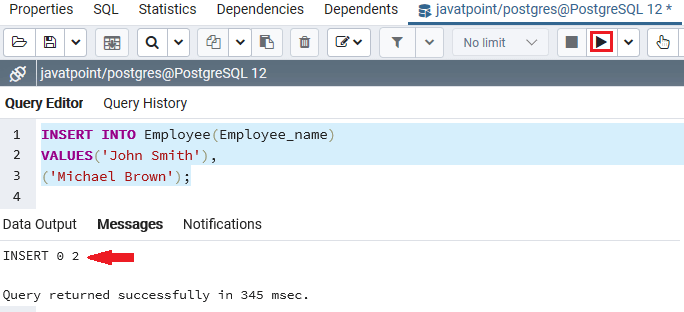
After inserting the value in the Employee table, we will enter some records into the Department table by using the Insert Command, as shown in the below command:
INSERT INTO Department(Employee_id, Department_name)

VALUES(1,'Accounting'),

(1,'Accounting'),

(2,'Human Resource'),

(2, 'Human Resource');
Output
After executing the above command, we will get the below message window, which displays that the four rows have been inserted into the Department table.
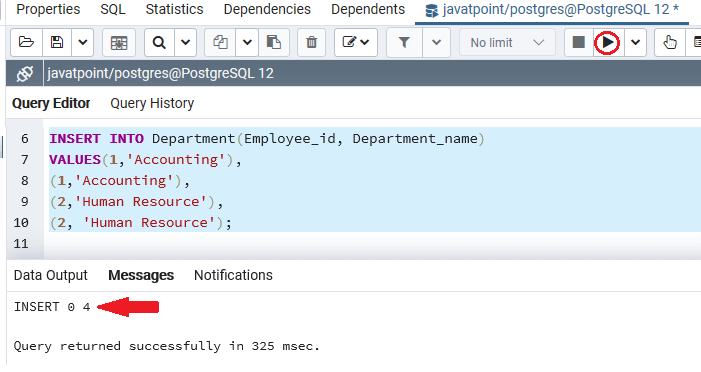
After recreating and reinserting the values into both tables, we will use the DELETE command.
In the below example, we will delete the Employee_id=2 from the Employee table.
DELETE FROM Employee

WHERE Employee_id = 2;
Output
On executing the above command, we will get the below message window, which displays that the particular employee_id value has been deleted successfully form the Employee table.
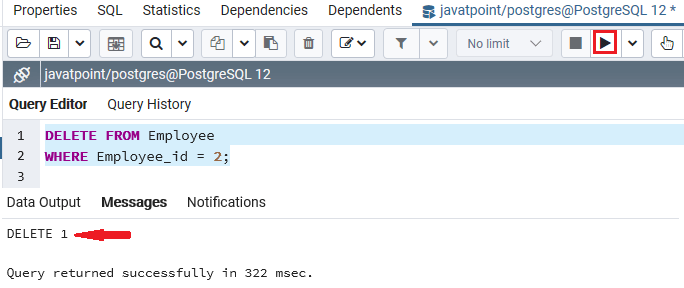
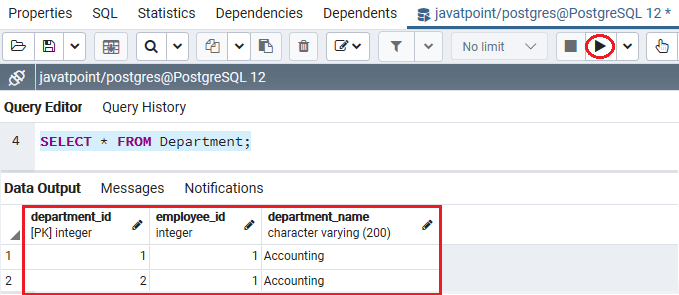
All the referencing rows in the Department table are automatically deleted, as we have used the ON DELETE CASCADE action in the Department table.
In other words, we can say that if we delete the employee records from the Employee table, then the related records in the Department table has been removed automatically.
To check whether the above ON DELETE CASCADE action work’s fine or not, we will use the SELECT command, as we can see in the below statement:
SELECT * FROM Department; Output
After executing the above command, we will get the below output:
If we add a foreign key constraint with the ON DELETE CASCADE option to an existing table, we will need to follow the below steps:
Step1
Firstly, we will drop existing foreign key constraints by using the below illustration:
ALTER TABLE child_table

DROP CONSTRAINT constraint_fkey;
Step2
After that, we will add a new foreign key constraint with ON DELETE CASCADE action with the help of the below syntax:
ALTER TABLE child_table

ADD CONSTRAINT constraint_fk

FOREIGN KEY (fk_columns)

REFERENCES parent_table(parent_key_columns)

ON DELETE CASCADE;
Creating a Foreign Key using an ALTER TABLE command
We can generate a foreign key in PostgreSQL with the ALTER TABLE command’s help.
The ALTER TABLE command is used to perform the change into the existing table. Occasionally, we can also add a foreign key to the current table column.
The syntax for creating a Foreign key using an ALTER table statement
The below illustrations of the ALTER TABLE statement to add a foreign key in the existing table:
ALTER TABLE child_table

ADD CONSTRAINT [constraint_name]

FOREIGN KEY (fk_columns)

REFERENCES parent_table (parent_key_columns);
Note: If we want to add a foreign key using the ALTER TABLE command, it is recommended to create an index on the different columns referenced by the foreign key.
Example of PostgreSQL Foreign Key using ALTER TABLE command
To understand the PostgreSQL Foreign key’s working, we will see the below example, which describes how a Foreign key added through the ALTER table command in PostgreSQL.
In the below example, we create two new tables called Clients and Company into the Javatpoint database, which does not contain a foreign key column into the table description.
To create the Clients and Company table, we will use the CREATE table command, as shown in the below statement:
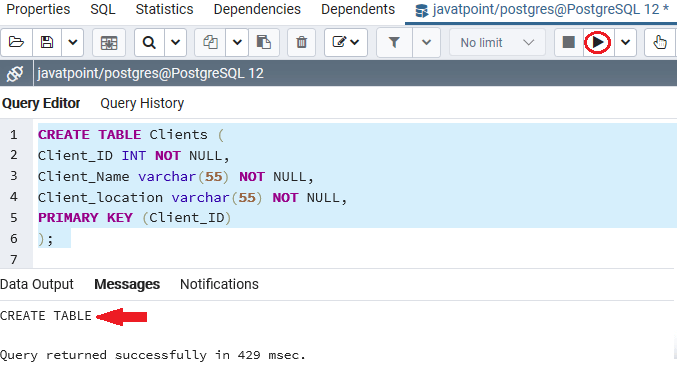
CREATE TABLE Clients (

Client_ID INT NOT NULL,

Client_Name varchar(55) NOT NULL,

Client_location varchar(55) NOT NULL,

PRIMARY KEY (Client_ID)

);
Output
After executing the above command, we will get the below message window; the Clients table has been created successfully into the Javatpoint database.
Once the Clients table has been generated, we will create the child table (Company) using the CREATE TABLE command:
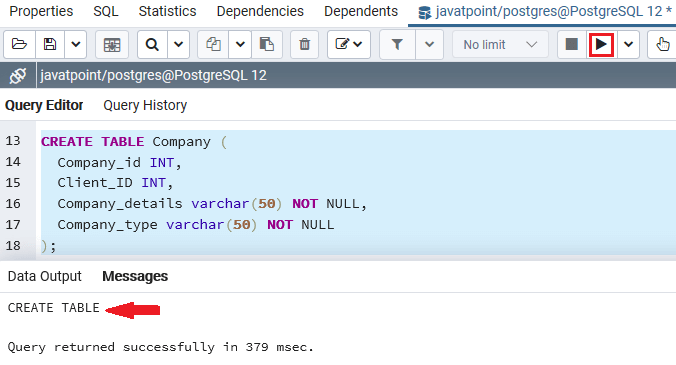
CREATE TABLE Company (

  Company_id INT,

  Client_Id INT,

  Company_details varchar(50) NOT NULL,

  Company_type varchar(50) NOT NULL

);
Output
After executing the above command, we will get the below message window displaying that the Company table has been created successfully into a similar database.
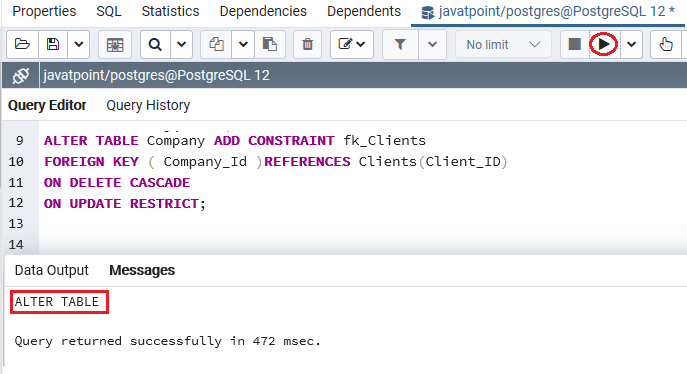
After creating both the parent (Clients) table and child( Company) table successfully, we can execute the below ALTER TABLE command if we add a Foreign key to the existing table:
ALTER TABLE Company ADD CONSTRAINT fk_Clients

FOREIGN KEY ( Company_Id )REFERENCES Clients(Client_ID)

ON DELETE CASCADE

ON UPDATE RESTRICT;
Output
After executing the above command, we will get the below message window displaying that the particular table has been altered successfully into a similar database.
How to remove the PostgreSQL Foreign key
In PostgreSQL, we can remove the foreign key from the existing table with the ALTER TABLE command’s help.
The syntax for dropping a foreign key using a alter table command
The below illustrations are used to remove a Foreign key with the ALTER TABLE command’s help in PostgreSQL:
ALTER TABLE table_name

DROP CONSTRAINT constraint_fkey;
In the above syntax, we have used the following parameters, which we discussed in the below table:
| Parameter | Description |
|---|---|
| table_name | The table name parameter is used to specify the table’s name from where we are going to remove the foreign key. |
| constraint_Fkey | It is used to define the foreign key’s name, which was added while creating a table. |
Example of removing the PostgreSQL Foreign key using an ALTER TABLE command
Let’s see a sample example of removing the foreign key from the defined table.
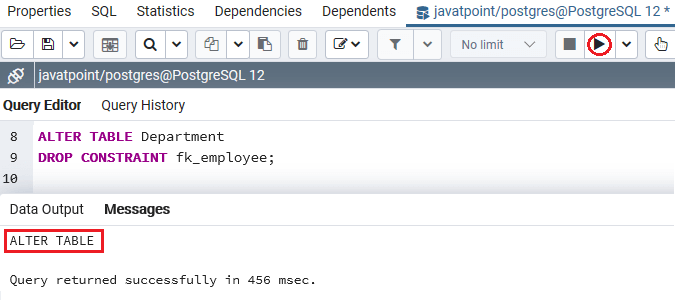
For this, we are taking the above newly created Employee table and removing the foreign key with the ALTER TABLE command’s help, as shown in the below statement:
ALTER TABLE Department

DROP CONSTRAINT fk_employee;
Output
After implementing the above command, we will get the below message window displaying that the foreign key has been removed from the particular table successfully.
Overview
In the PostgreSQL Foreign key section, we have learned the following topics:
- We have used the CREATE TABLE command to create a Foreign key for the particular table.
- We have understood the concept of altering the PostgreSQL Foreign key using the CREATE TABLE
- We have also seen the example of referential action options: SET NULL, NO ACTION, CASCADE, RESTRICT, and SET DEFAULT.
- We have used the ALTER TABLE command to drop the Foreign key from the particular table.
Leave a Reply