In this section, we are going to understand the working of the PostgreSQL ALTER TRIGGER command and see the example of altering a trigger or rename a trigger from a specified table in PostgreSQL.
What is PostgreSQL ALTER TRIGGER command?
In PostgreSQL Trigger, the next command is the Alter Trigger command, which is used to rename the existing trigger.
The syntax of PostgreSQL Alter trigger command
The following illustration is used to alter a trigger from a table:
ALTER TRIGGER trigger_name

ON table_name

RENAME TO new_trigger_name;
In the above syntax, we have used the following parameters:
| Parameters | Description |
|---|---|
| Trigger_name | It is used to define the trigger name that we need to rename, and it is mentioned after the ALTER TRIGGER keyword. |
| Table_name | The table_name parameter is used to define the table name, which is connected to the trigger. And it is used after the ON keyword. |
| New_trigger_name | It is used to specify the new name of the trigger. And it is written after the RENAME TO keyword. |
Example of PostgreSQL ALTER TRIGGER command
Let us see a sample example to understand the working of the PostgreSQL Alter Trigger command.
We are creating one new table as Student with the CREATE command’s help and inserting some values using the INSERT command.
Step1: Creating a new table
To create a Student into an Organization database, we use the CREATE command.
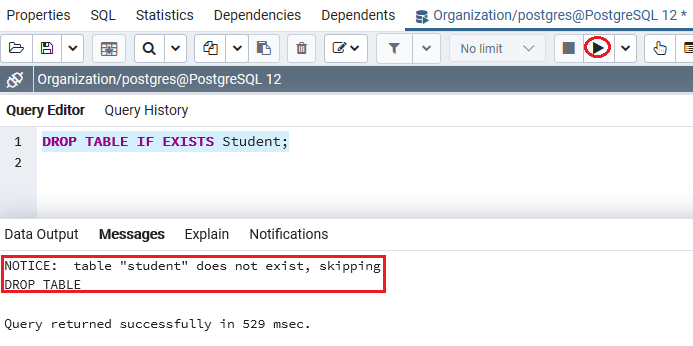
But, before creating the Student table, we will use the DROP TABLE command to check if a similar table is already existing in the Organization database or not.
ALTER TRIGGER trigger_name

ON table_name

RENAME TO new_trigger_name;
Output
After executing the above command, we will get the following window message: The Student table does not exist.
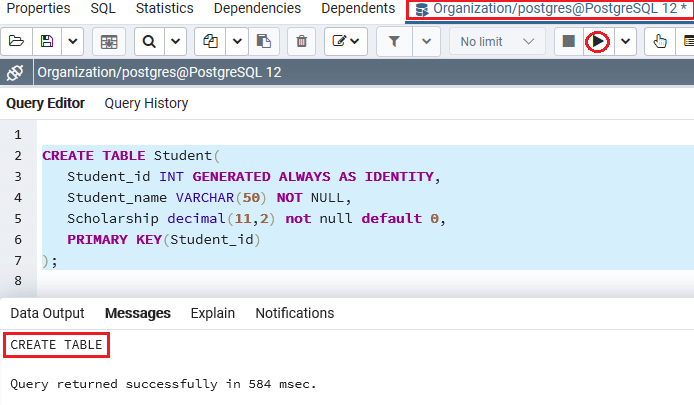
The Student table contains various columns such as Student_id, Student_name, Scholarship column, where we use the Student_id as the GENERATED ALWAYS AS IDENTITY constraint.
CREATE TABLE Student(

   Student_id INT GENERATED ALWAYS AS IDENTITY,

   Student_name VARCHAR(50) NOT NULL,

   Scholarship decimal(11,2) not null default 0,

   PRIMARY KEY(Student_id)

);
Output
On executing the above command, we will get the following message: The Student table has been created successfully into the Organization database.
Step2: Creating a new function
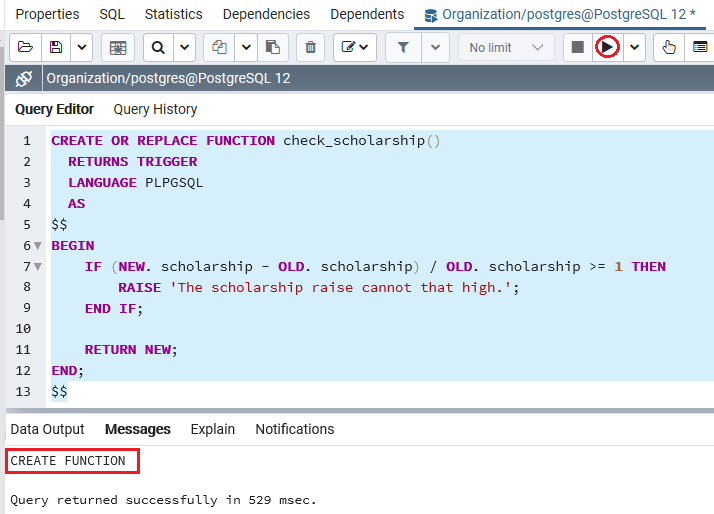
After creating the Student table successfully, we will create a new function, which raises an exception if the new scholarship is larger than the old one 100%:
CREATE OR REPLACE FUNCTION check_scholarship()

  RETURNS TRIGGER

  LANGUAGE plpgsql

  AS

$$

BEGIN

    IF (NEW. scholarship - OLD. scholarship) / OLD. scholarship >= 1 THEN

        RAISE 'The scholarship raise cannot that high.';

    END IF;


    RETURN NEW;

END;

$$
Output
On executing the above command, we will get the following message, which displays that the check_scholarship() function has been created successfully into the Organization database.
Step3: Creating a new Trigger
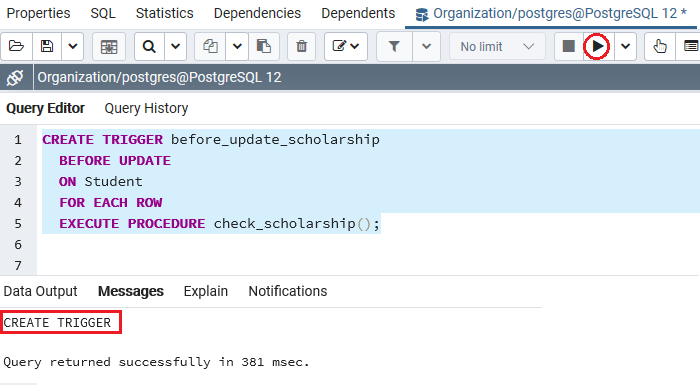
After creating the check_scholarship() function, we will create a new trigger on the Student table before update trigger that execute the check_scholarship() function before updating the scholarship.
CREATE TRIGGER before_update_scholarship

  BEFORE UPDATE

  ON Student

  FOR EACH ROW

  EXECUTE PROCEDURE check_scholarship ();
Output
After implementing the before_update_scholarship above command, we will get the following message window, which displays that the specified trigger has been inserted successfully for the Student table.
Step4: Insert a new value
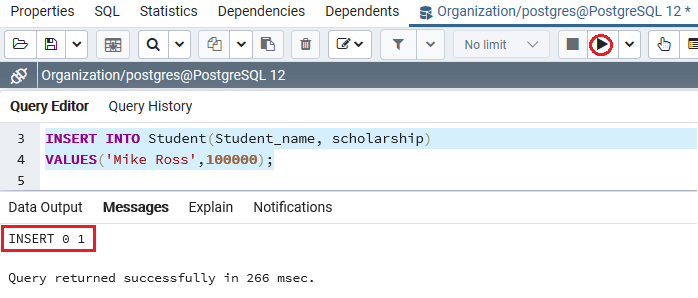
Once the function and trigger have been generated successfully, we will insert a new row with the INSERT’s command help into the Student table:
INSERT INTO Student(Student_name, scholarship)

VALUES('Mike Ross',100000);
Output
After implementing the above command, we will get the below message window, displaying that the particular value has been inserted successfully into the Student table.
Step5: Updating the Value
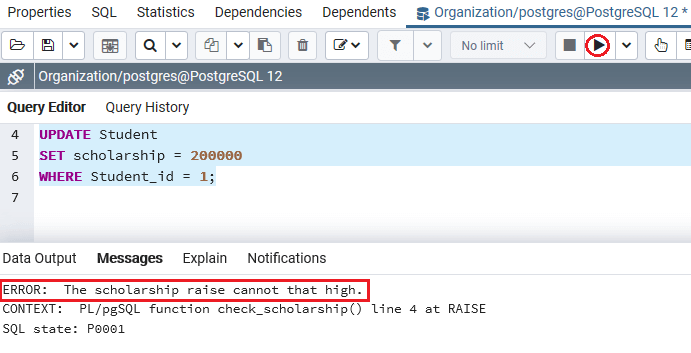
After inserting the new row, we will update the scholarship of the Student_id 1 using the below UPDATE command:
UPDATE Student

SET scholarship = 200000

WHERE Student_id = 1;
Output
On implementing the above command, the trigger was executed and raise an error, which says that the scholarship raise cannot be that high.
Step5: Altering the trigger command
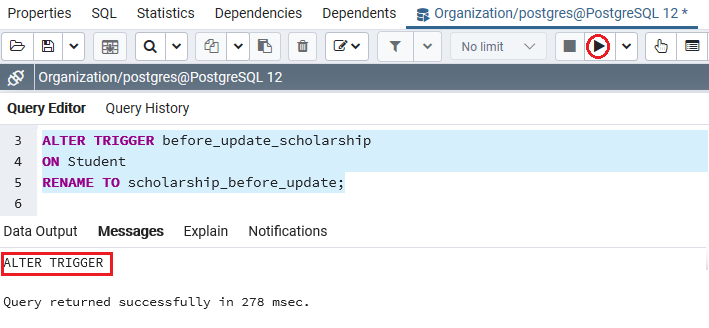
To resolve the above error, we will use the ALTER TRIGGER command to rename the before_update_scholarship trigger to scholarship_before_update.
ALTER TRIGGER before_update_scholarship

ON Student

RENAME TO scholarship_before_update;
Output
After implementing the above command, we will get the below message window, which displays that the particular trigger has been renamed successfully from before_update_scholarship trigger to scholarship_before_update.
View Trigger SQL shell (PSQL)
We are going to follow the below process to view a Trigger in psql:
Step1
Firstly, we will open the psql in our local system, and we will connect to the database where we want to create a table.
Step2
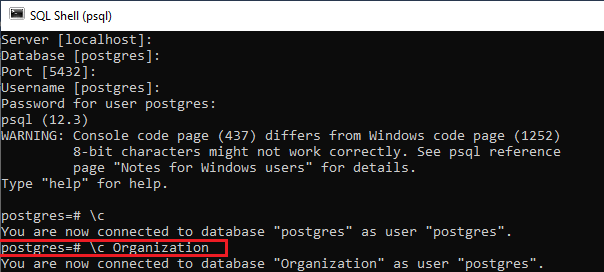
For connecting an Organization database, we will enter the below command:
postgres=# \c Organization Output
After executing the above command, we will get the following output:
Step3
We will now enter the below command to view all triggers linked with a table in the Organization database.
Organization=# \dS Student Output
On implementing the above command, we will get the below output, which displays the existing Trigger, which is scholarship_before_update present in the Organization database:

Note: In the\dS command, the letter S is in the Uppercase, or if we use the \ds where the letter s is in the lowercase, it will occur the below error:

Changing the triggers
In PostgreSQL, does not contain the OR REPLACE command, which provides us to change the trigger explanation like the function, which will be implemented when the trigger is executed.
Therefore, we can wrap these commands in a transaction, and also use the CREATE TRIGGER and DROP TRIGGER commands.
Let us see one sample example to understand how the DROP TRIGGER and CREATE TRIGGER command works in a transaction.
The below command represents how to change the check_scholarship() function of the scholarship_before_update trigger to validate_scholarship:
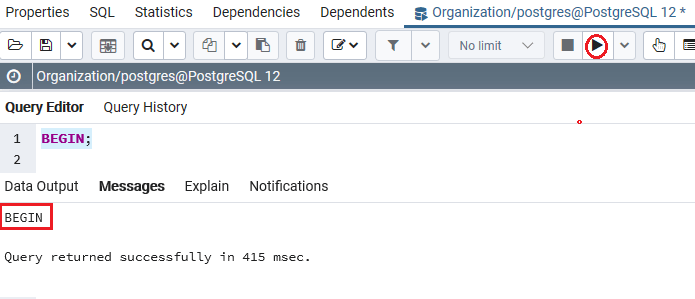
Step1: Begin a Transaction
To start a transaction, we can use the following statement:
BEGIN; Output
After implementing the above command, we will get the below message window, which says that the specified command has been successfully implemented.
Step2: Using the DROP trigger command
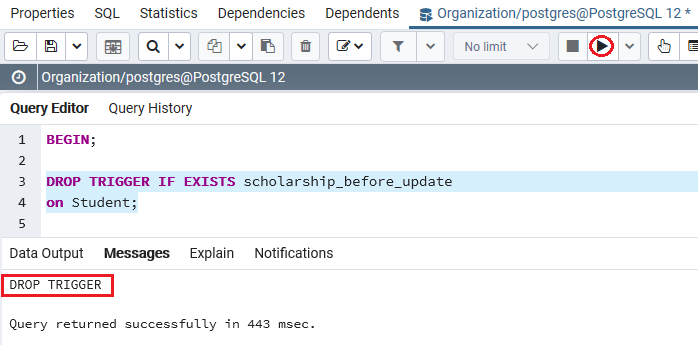
After successfully starting the transaction process, we will execute the following DROP TRIGGER command:
DROP TRIGGER IF EXISTS scholarship_before_update

on Student;
Output
After implementing the above command, we will get the below output, which displays that the particular trigger has been dropped successfully from the Student table.
Step3: Create a new Trigger
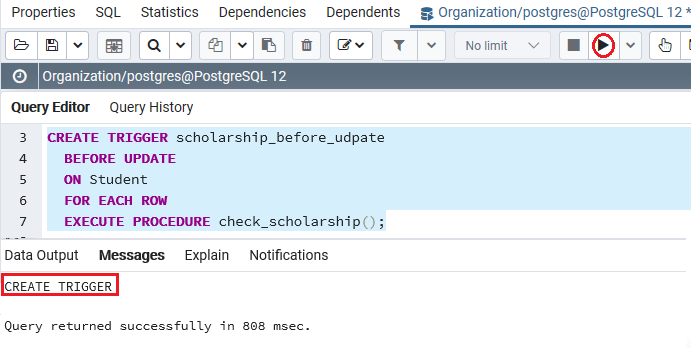
After dropping the scholarship_before_update trigger successfully, we create a new trigger scholarship_before_udpate with a similar name, as shown in the below command:
CREATE TRIGGER scholarship_before_udpate

  BEFORE UPDATE

  ON Student

  FOR EACH ROW

  EXECUTE PROCEDURE check_scholarship();
Output
After implementing the above command, we will get the following message window, which displays that the particular trigger has been inserted successfully for the Student table.
Step4: Commit the transaction
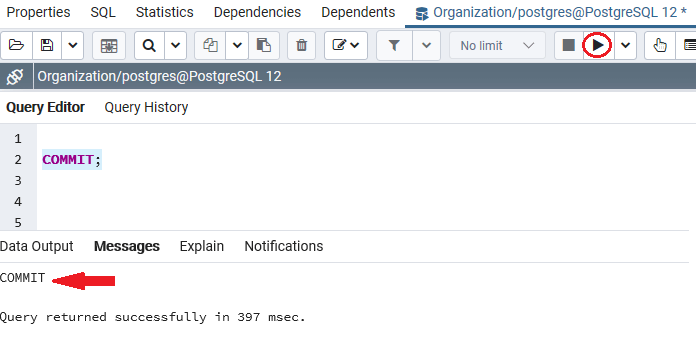
To make the change visible to other sessions (or users), we need to commit the transaction with the help of the COMMIT command, as shown below:
COMMIT; Output
After implementing the above command, we will get the following message window, which displays that the transaction has been committed successfully for the Student table.
Overview
In the PostgreSQL ALTER Trigger section, we have learned the following topics:
- To rename a trigger, we have used the PostgreSQL Alter Trigger command with an example.
- To change a trigger with a new one, we have used the pair of the DROP TRIGGER and CREATE TRIGGER commands.
Leave a Reply