In this section, we are going to understand the working of the Trigger function, the creation of trigger function, PostgreSQL Create Trigger, and the examples of the Create Trigger command.
What is the Trigger function?
A trigger function is parallel to the consistent user-defined function. But a trigger function can return a value with the type trigger and does not take any parameters.
Syntax of Create trigger function
The syntax for creating a trigger function is as follows:
CREATE FUNCTION trigger_function()

   RETURNS TRIGGER

   LANGUAGE PLPGSQL

AS $$

BEGIN

   -- trigger logic goes here?

END;

$$
Note: We can generate a trigger function with the help of any supported languages through PostgreSQL.
A trigger function can accept the data about its calling environment over a special structure called Trigger Data that holds a set of local variables.
For example, before or after the triggering event the OLD and NEW signify the row’s states in the table.
PostgreSQL also allows us to other local variables preceded by TG_ like, as TG_WHEN, and TG_TABLE_NAME.
If we specify a trigger function, we can fix the various trigger events, for example, INSERT, DELETE and Update.
How to Create a New Trigger
We will follow the below process to generate a new trigger in PostgreSQL:
Step1: Firstly, we will create a trigger function with the help of the CREATE FUNCTION command.
Step2: Then, we will fix the trigger function to a table with the help of the CREATE TRIGGER command.
What is PostgreSQL CREATE TRIGGER command?
The CREATE TRIGGER command is used to create a new trigger.
Syntax of PostgreSQL CREATE TRIGGER command:
The syntax of the PostgreSQL CREATE TRIGGER command is as follows:
CREATE TRIGGER trigger_name

 {BEFORE | AFTER} { event }

  ON table_name

  [FOR [EACH] { ROW | STATEMENT }]

  EXECUTE PROCEDURE trigger_function
In the above syntax, we have used the following parameters, as shown in the below table:
| Parameters | Description |
|---|---|
| Trigger_name | It is used to define the trigger name after the TRIGGER keyword. |
| BEFORE|AFTER | These parameters are used when we need to define the timing at the trigger’s execution, and it can be specified as AFTER or BEFORE when an event occurs. |
| Event | The event parameter is used to define the event which requested the trigger, and it can be INSERT, UPDATE, DELETE, or TRUNCATE. |
| Table_name | The table_name parameter is used to define the table name, which is linked with the trigger. And it is specified after the ON keyword. |
| [FOR [EACH] { ROW | STATEMENT}] | These parameters can define the types of the trigger, which are Row-level trigger and Statement Level trigger.The FOR EACH ROW clause is used to define the Row-Level Trigger.And the FOR EACH STATEMENT clause is used to specify the Statement-Level trigger. |
| Trigger_function | It is used to define the trigger function name after the EXECUTE PROCEDURE keyword. |
Note: A Statement-level trigger is used to implement each transaction, whereas a row-level trigger is used to execute the for each row.
For example, let’s assume a table that has 50 rows and two triggers which will be executed when a DELETE event happens.
If the delete command removes 50 rows, the row-level trigger will be implemented 50 times, once for each deleted row. However, a statement-level trigger will be executed for one time irrespective of how many rows are removed.
Example of PostgreSQL Create Trigger
Let us see a sample example to understand the working of the PostgreSQL CREATE Trigger command.
We are creating one new table as Clients with the CREATE command’s help and inserting some values using the INSERT command.
To create Clients into an Organization database, we use the CREATE command.
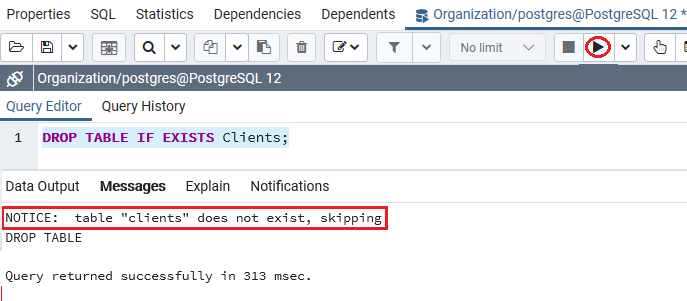
But, before creating the Clients table, we will use the DROP TABLE command if a similar table is already existing in the Organization database.
DROP TABLE IF EXISTS Clients; Output
After executing the above command, we will get the following window message: the Clients table does not exist.
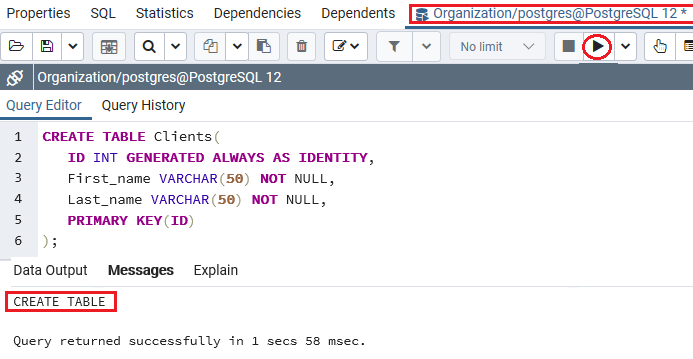
The Clients table contains various columns such as Client_id, First_name, Last_name column, where we use the Client_id as the GENERATED ALWAYS AS IDENTITY constraint.
CREATE TABLE Clients(

   ID INT GENERATED ALWAYS AS IDENTITY,

   First_name VARCHAR(50) NOT NULL,

   Last_name VARCHAR(50) NOT NULL,

   PRIMARY KEY(ID)

);
Output
On executing the above command, we will get the following message, which displays that the Clients table has been created successfully into the Organization database.
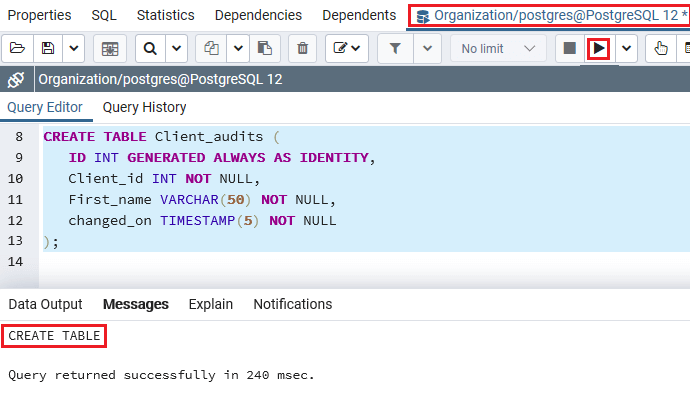
Assume that when the name of clients modifies, we want to log the modification in a different table called Client_audits:
CREATE TABLE Client_audits (

   ID INT GENERATED ALWAYS AS IDENTITY,

   Client_id INT NOT NULL,

   First_name VARCHAR(50) NOT NULL,

   changed_on TIMESTAMP(5) NOT NULL

);
Output
After implementing the above command, we will get the following message window, which displays that the Client_audits table has been created successfully into the Organization table.
Now, we will be following the below steps to create a new function for the specified table:
Step1: Creating a new Function
Firstly, we are creating a new function called log_First_name_changes using the below command:
CREATE OR REPLACE FUNCTION log_First_name_changes()

  RETURNS TRIGGER

  LANGUAGE PLPGSQL

  AS

$$

BEGIN

    IF NEW.First_name <> OLD.First_name THEN

         INSERT INTO Client_audits(Client_id,First_name,changed_on)

         VALUES(OLD.ID,OLD.First_name,now());

    END IF;

RETURN NEW;

END;

$$
Output
After implementing the above command, we will get the below message window displaying that the log_First_name_changes function has been created successfully into a similar database.

The function inserts the old First name into the Client_audits table, which contains Client_id, First_name, and the time of change if the First_name of a client.
In the above command, we have the following:
- The NEWdenotes the new row that will be updated, whereas the OLD signifies the row before the update.
- The First_nameretrieves the new last name; on the other hand, the OLD.first_name retrieves the first name before the update.
Step2: Creating a new Trigger
After creating a new function (log_First_name_changes) successfully, we will fix the trigger function to the Clients table where the trigger_name is First_name_changes.
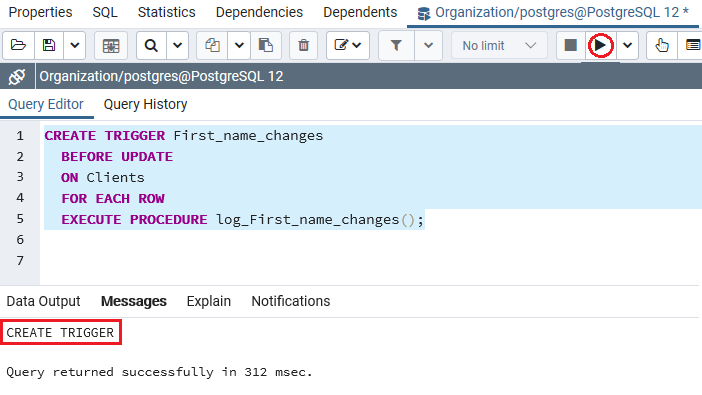
The trigger function is used to log the modification automatically before the value of the First_name column is updated, as shown in the following command:
CREATE TRIGGER First_name_changes

 BEFORE UPDATE

 ON Clients

 FOR EACH ROW

 EXECUTE PROCEDURE log_First_name_changes();
Output
We will get the following message on executing the above command, which displays that the First_name_changes trigger has been created successfully.
Step3: Inserting the Data
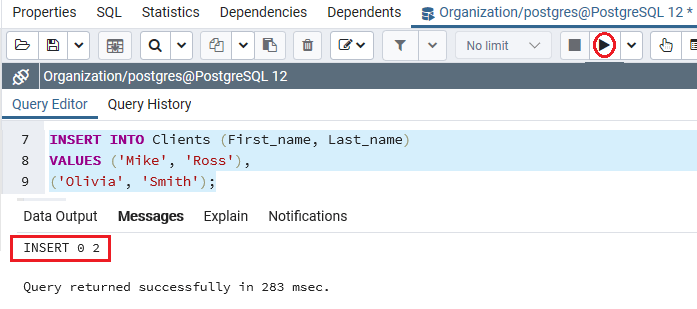
After creating the new function as log_First_name_changes() and new trigger as First_name_changes successfully, we will enter some values into the Clients table with the INSERT command’s help.
INSERT INTO Clients (First_name, Last_name)

VALUES ('Mike', 'Ross'),

('Olivia', 'Smith');
Output
After implementing the above command, we will get the following message window, which displays that the two values have been inserted successfully into the Clients table.
Step4: Retrieving the data
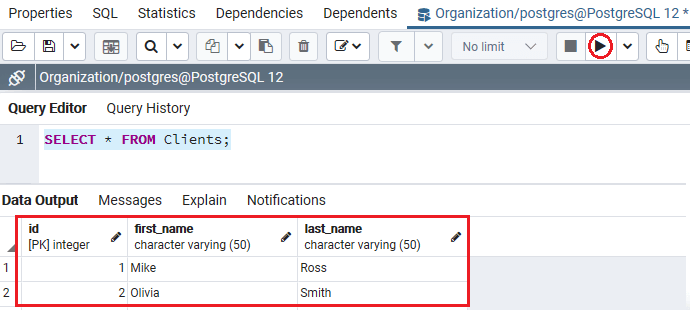
After creating and inserting the Clients table’s values, we will use the SELECT command to retrieving the data from the Clients table:
SELECT * FROM Clients; Output
After successfully implementing the above command, we will get the below result, which displays that the PostgreSQL returns the data present in the Clients table:
Assume that Olivia Smith modified her First_name to Alivia Smith.
Step5: Updating the First_name
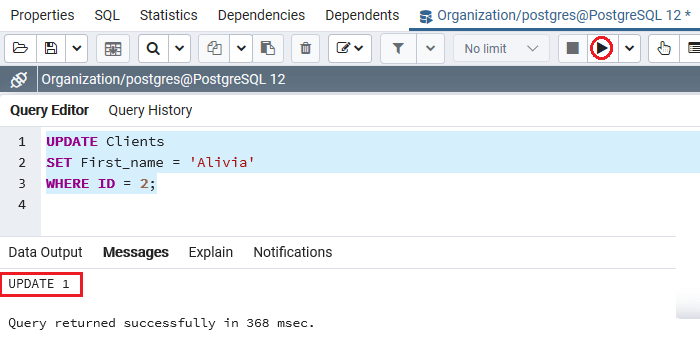
So here, we are updating Olivia’s first name to the new one with the help of the UPDATE command, as shown below:
UPDATE Clients

SET First_name = 'Alivia'

WHERE ID = 2;
Output
On implementing the above command, we will get the following window message, which displays that the specified value have been updated successfully.
Step7: Verifying the Data after modification
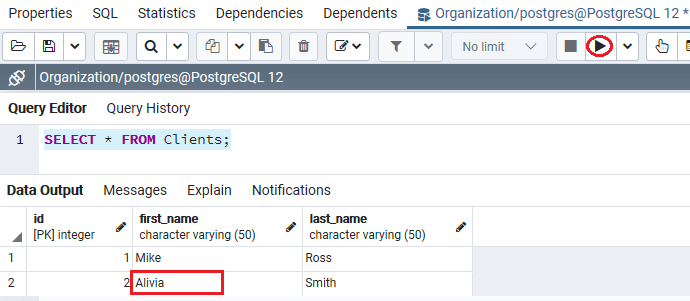
Now, we will verify that if the First name of Olivia has been updated successfully or not using the following SELECT command:
SELECT * FROM Clients; Output
After successfully implementing the above command, we will get the below output: Olivia’s first name has been updated to Alivia into the Clients table:
Step8: Validate the contents
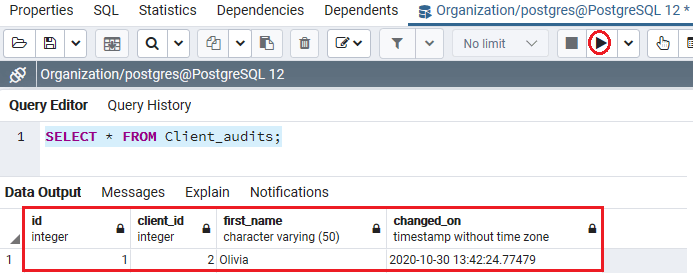
After performing all the above steps successfully, in the end, we will validate the contents of the Client_audits table with the help of the following SELECT command:
SELECT * FROM Client_audits; Output
After executing the above command, we will get the following output, which displays that the modification was logged in the Client_audits table by the trigger.
Overview
In the PostgreSQL Create Trigger section, we have learned the following topics:
- We have used the CREATE Function command to create a new function for the particular table where the trigger function is parallel to the consistent user-defined function.
- The PostgreSQL Create trigger command is used to create a new trigger with an example of it.
Leave a Reply