There are the following different examples implemented for creating the simple HTML pages using the different basic tags:
Example 1: This example creates a simple page without any content, which helps in understanding how to use the Html, Head, and Body tag in the HTML page.
In the following example, we have not specified the title of the web page in the Head tag, so it will display the name of Html file as its title.
<Html> <!-- This tag is compulsory for any HTML document. -->

<Head>

<!-- The Head tag is used to create a title of web page, CSS syntax for a web page, and helps in written a JavaScript code. -->

</Head>

<Body>

<!-- The Body tag is used to display the content on a web page. In this example we do not specify any content or any tag, so in output nothing will display on the web page. -->

</Body>

</Html>
Output:
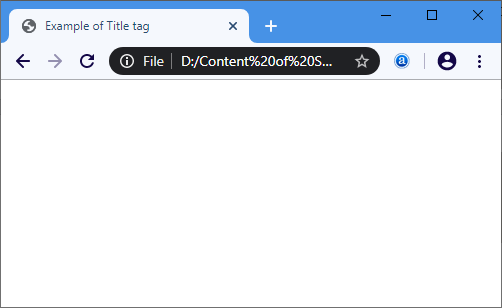
Example 2: This example creates a page which helps in understanding how to give a title to a web page.
<Html>

<Head>

<!-- In this example the title tag is used to specify the title of the web page. -->

<title>

Example of Title tag

</title>

</Head>

<Body>

</Body>

</Html>
Output:
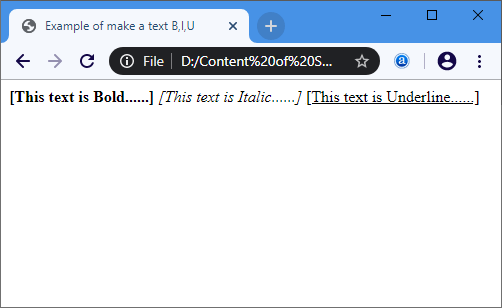
Example 3: This example creates a web page which helps in understanding how to make the text bold, italic, and underline.
<Html>

<Head>

<title>

Example of make a text B,I,U

</title>

</Head>

<Body>

<b> [This text is Bold......] </b>

<I> [This text is Italic......] </I>

<U> [This text is Underline......] </U>

</Body>

</Html>
Output:
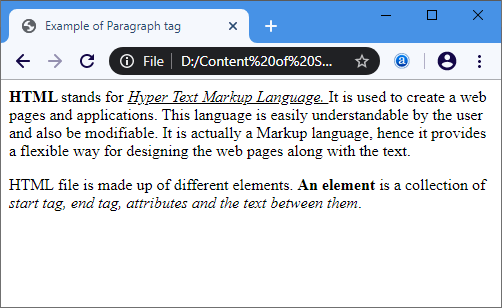
Example 4: This example creates a web page which helps in understanding how to use the <p> tag.
<Html>

<Head>

<title>

Example of Paragraph tag

</title>

</Head>

<Body>

<p> <!-- It is a Paragraph tag for creating the paragraph -->

<b> HTML </b> stands for <i> <u> Hyper Text Markup Language. </u> </i> It is used to create a web pages and applications. This language

is easily understandable by the user and also be modifiable. It is actually a Markup language, hence it provides a flexible way for designing the

web pages along with the text.

</p>

HTML file is made up of different elements. <b> An element </b> is a collection of <i> start tag, end tag, attributes and the text between them</i>.

</p>

</Body>

</Html>
Output:
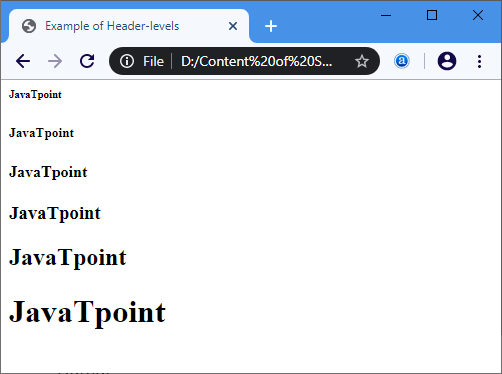
Example 5: This example creates a web page which helps in understanding how to define all header levels.
In HTML, there are 6 header levels from h1 to h6.
<Html>

<Head>

<title>

Example of Header-levels

</title>

</Head>

<Body>


<h6> JavaTpoint </h6>

<h5> JavaTpoint </h5>

<h4> JavaTpoint </h4>

<h3> JavaTpoint </h3>

<h2> JavaTpoint </h2>

<h1> JavaTpoint </h1>

</Body>

</Html>
Output:
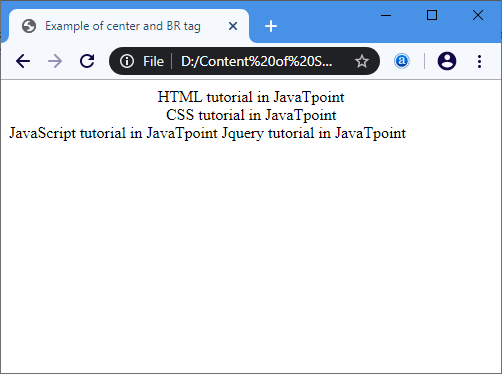
Example 6: This example creates a web page which helps in understanding how to align the text in center, and how to break a line.
<Html>

<Head>

<title>

Example of center and BR tag

</title>

</Head>

<Body>

<!-- In this example we use the center tag which specify the content at centre of the webpage.-->

<center>

HTML tutorial in JavaTpoint <br> <!-- The BR tag is used to break a line. -->

CSS tutorial in JavaTpoint <br>

</center>

JavaScript tutorial in JavaTpoint <!-- Here BR tag is not used, so the next statement is in continuous with one space after this statement. -->

Jquery tutorial in JavaTpoint <br>

</Body>

</Html>
Output:
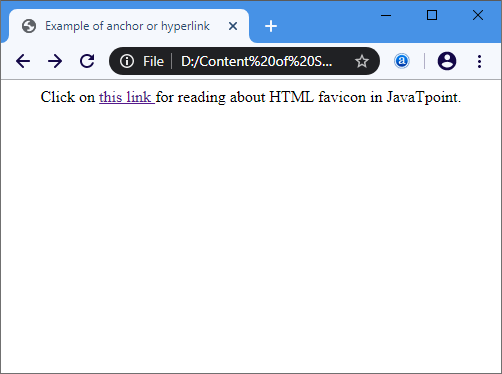
Example 7: The following example describe how to link one page to another.
<Html>

<Head>

<title>

Example of anchor or hyperlink

</title>

</Head>

<Body>

<!-- In this example we use the anchor tag for linking one page to another by using the href attribute

which specify the url of the second page which you want to link.-->

<center> Click on <a href="https://www.javatpoint.com/html-favicon"> this link </a> for reading about HTML favicon in JavaTpoint.

</center>

</Body>

</Html>
Output:
Leave a Reply